wtorek, 20 października 2020

Skeg


Skeg jest płytą laminatową o grubości 40 mm, przy dnie rozszerza się do 80 mm. W skegu osadzone jest równolegle 6 śrub M10. Śruby powinny być wykonane ze stali AISI 316. Skeg można wykonać na kilka sposobów, powiemy o dwóch. 

Pierwszy sposób to wykonanie prostej, jednorazowej formy ze sklejki i listew. Wewnętrzny kształt formy powinien odpowiadać kształtowi skegu. Wnętrze formy woskujemy pięciokrotnie a następnie laminujemy w nim skeg. Gdy już nie można ułożyć maty szklanej na ściankach pozostałą przestrzeń wypełniamy żywicą i ciętą lub rozrywaną matą szklaną. Staramy się by szkła było jak najwięcej. W odpowiednim momencie w skegu osadzamy śruby tak by były zagłębione na 60 mm. Powierzchnia skegu wykonanego w formie będzie gładka.

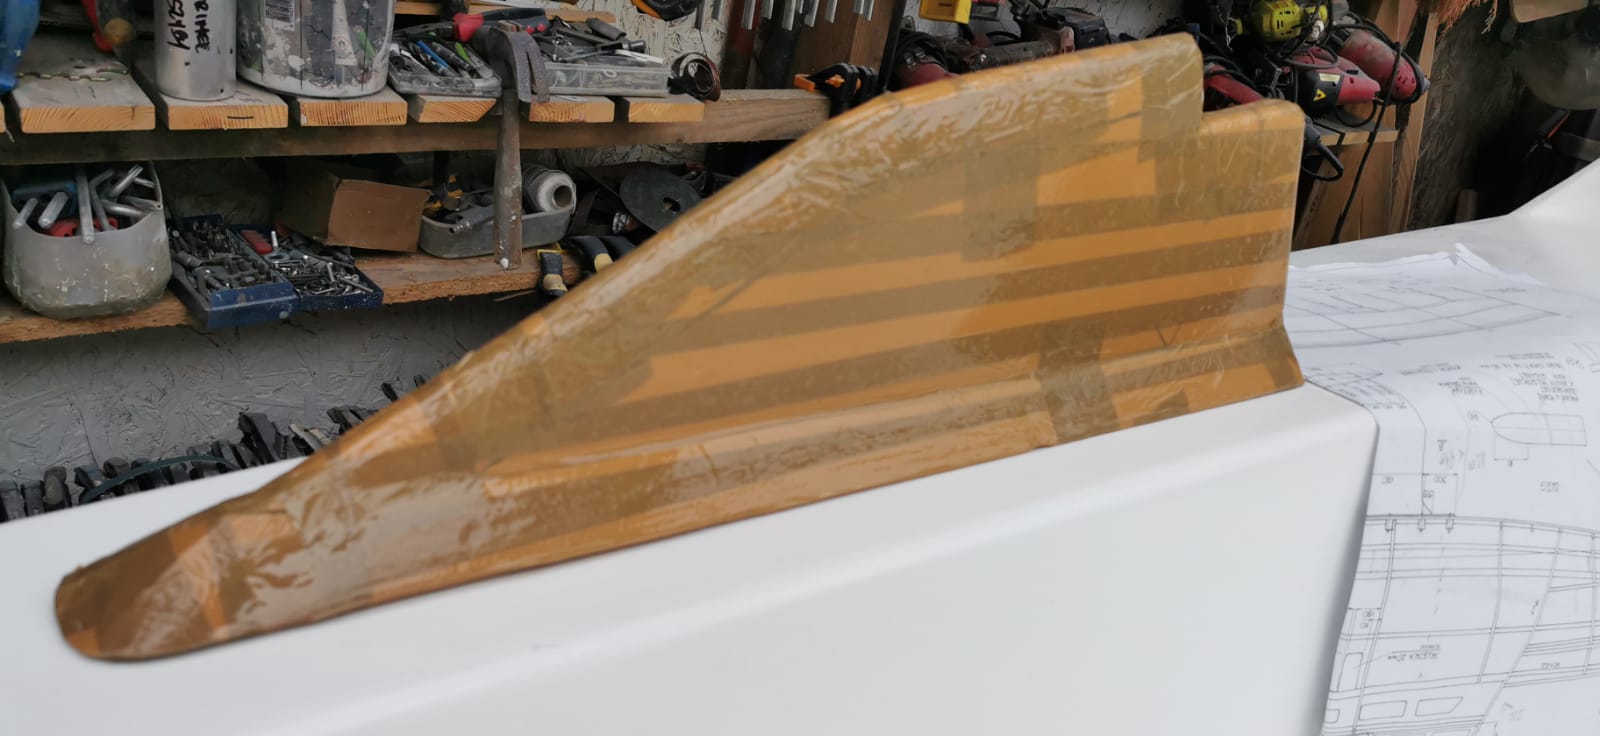
Drugi sposób to wykonanie modelu skegu . Model powinien mieć grubość  mniejszą z każdej strony o 2 mm. Model pokrywamy warstwą rozdzielającą. Teraz możemy model polaminować dwiema warstwami maty 600 G/m2. Po utwardzeniu laminatu wyjmujemy model. Wnętrze należy przeszlifować i odtłuścić np. acetonem. Teraz tak jak w pierwszej metodzie wnętrze wypełniamy ciętą matą i żywicą oraz osadzamy śruby na właściwej głębokości. Powierzchnia skegu wykonanego na modelu wymaga szlifowania i szpachlowania. 

Skeg przyklejamy do dna żywicą epoksydową i przykręcamy śrubami.

Skeg is a 40 mm thick laminate board, at the bottom of the boat it expands to 80 mm. Six M10 screws are mounted in parallel in the skeg. The bolts should be made of AISI 316 steel. Skeg can be made in several ways, we will say two.


The first way is to make a simple, disposable mold out of plywood and slats. The inner shape of the mold should follow the shape of the skeg. We wax the interior of the mold five times and then laminate the skeg in it. When the glass mat cannot be placed on the walls, the remaining space is filled with resin and a cut or torn glass mat. We try to make the glass as much as possible. At the right moment, put the screws in the skeg so that they are recessed by 60 mm. The surface of the skeg made in the form will be smooth.


The second way is to make a skeg model. The model should be 2 mm thinner on all sides. The model is covered with a separating layer. Now we can laminate the model with two layers of 600 G / m2 mat. After the laminate is cured, remove the model. The interior should be sanded and degreased, e.g. with acetone. Now, just like in the first method, we fill the interior with cut mat and resin and put the screws at the right depth. The surface of the skeg made on the model requires grinding and puttying.


We glue the skeg to the bottom with epoxy resin and screw it with screws.


Kształt skegu w  widoku z boku. Górną powierzchnię należy dopasować do kształtu dna.
Skeg shape in side view. The top surface must be adjusted to the shape of the bottom.


Pionowy przekrój skegu
Vertical section of the skeg


Poziomy przekrój skegu
Horizontal skeg section


Śruby przyspawane do pręta będzie łatwo  umieścić wenątrz skegu i zalaminować.
The bolts welded to the rod will be easy to insert into the skeg and laminate.


Model skegu
Skeg model


Model skegu pokryty warstwą rozdzielającą. Jako warstwę rozdzielającą zastosowano taśmę klejącą.
Skeg model covered with a separating layer. An adhesive tape was used as a separating layer.


Polaminowany model

A laminated model


Model usunięty z wnętrza laminatowej kształtki.

Model removed from the inside of the laminate.


Piotr przygotował śruby inaczej niż na wcześniejszym rysunku. Tu ważne jest aby pręt łączący znalazł się głęboko w laminacie.
Piotr prepared the screws differently than in the previous drawing. Here it is important that the connecting rod is placed deep in the laminate.


Skeg wypełniony żywicą i ciętą matą szklaną.
Skeg filled with resin and glass.


piątek, 9 października 2020

Jak sprawdzić sklejkę. How to check plywood.

 Jak sprawdzić wodoodporną sklejkę przed zakupem? opiszę  mój sposób.

Zawsze gdy kupowałem sklejkę do budowy łódki robiłem to osobiście. Nie zamawiałem przez internet lecz jechałem do hurtowni lub do fabryki sklejek. Zabierałem ze sobą ręczną piłę, duży kubek i grzałkę taką jak do robienia herbaty. Na miejscu prosiłem o możliwość odcięcia rogu z jednego arkusza sklejki. Jeżeli nie było takiej możliwości kupowałem jeden arkusz. Odcięty niewielki kawałek sklejki wkładałem do kubka, zalewałem wodą i gotowałem przez godzinę. Jeżeli ze sklejka nic się nie działo kupowałem tyle arkuszy ile wcześniej zamierzałem. Jeżeli sklejka była sklejona niewłaściwie rozklejała się zazwyczaj po kilku lub kilkunastu minutach gotowania.

Jeżeli jednak kupiliście sklejkę bez sprawdzania to warto przeprowadzić taką próbę przed rozpoczęciem budowy.

How to check waterproof plywood before buying? I will describe my method.

Whenever I bought plywood to build a boat, I did it personally. I did not order online, but went to a warehouse or a plywood factory. I took with me a hand saw, a large cup and a heater such as for making tea. On site, I asked for a corner to be cut from one sheet of plywood. If it was not possible, I bought one sheet. I put a small piece of plywood cut off in a cup, pour water over it and cook for an hour. If nothing happened with the plywood, I bought as many sheets as I had planned before. If the plywood was glued incorrectly, it usually fell apart after a few or several minutes of cooking.

However, if you bought plywood without checking it, it is worth doing such a test before starting construction.